When it comes to a good paint job, it’s all about prepping the walls and knowing a couple little techniques. As long as you know what to do beforehand, painting can be pretty easy!
- The first step is to clean the walls. Gently clean the walls with a wet sponge and a little mild dish-washing detergent to remove any dust, dirt or grease spots. This will ensure that no particles get stuck under your new paint, and the coloring will look how you want it to.
- A second important step is to tape the trim, window, and door frames. Be sure to use painter’s blue tape, which can be applied up to a week ahead of time. Remove it as soon as you’re done painting, so you don’t pull off any paint with the tape. This will allow you to have defined, straight lines on your trim to make it look crisp and clean.
- Priming your walls before you paint will definitely enhance the appearance. Primer helps maximize the sheen and coverage of paint and gives the finish coat a more uniform look.
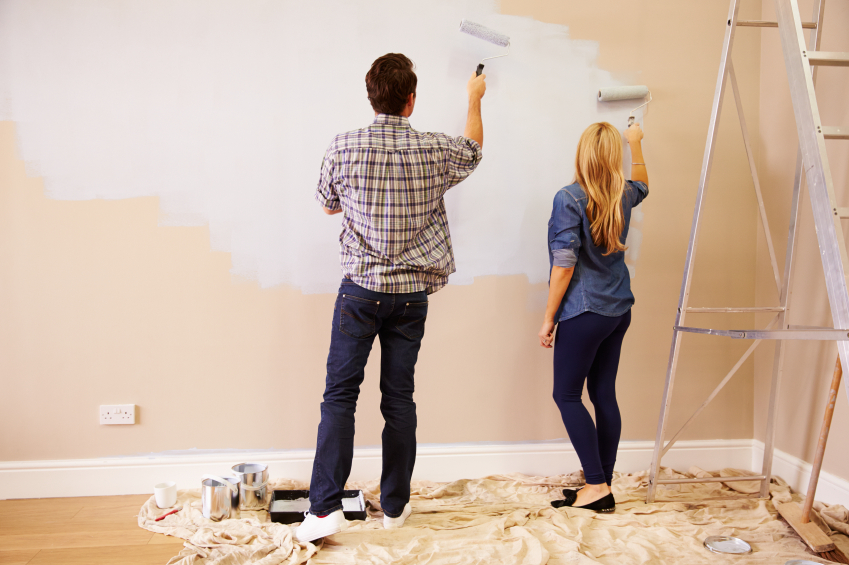
- Brush where you can’t roll. Rollers will be used on majority of the walls, but there are some hard to reach places that will come out better with a brush. Use a brush around the trim and corners of walls, where the roller can’t reach, with a two inch angled brush.
- This tip is less important for the quality of the paint job, but using the W technique will increase efficiency. Start in the corner of a wall and roll on a three-by-three-foot W pattern, then fill it in without lifting the roller. Continue in sections until you’re done and paint one wall at a time.
- Paint the trim will make your new paint pop even more. When the walls are dry, tape where the trim meets the wall. Paint the moldings as well as the door and window frames with a two-inch angled brush.
Now you’re ready to execute a professional looking paint job!